How to Convert a Logo into a Custom Patch Design (Step-by-Step Guide)
Custom patches are one of the best ways to strengthen brand identity and add a professional touch to uniforms, merchandise, and promotional products. Understanding how to convert a logo into a patch design ensures high quality results, whether you’re a business owner, designer, or organization.
Here’s how to make a custom patch from a logo, and best practices from industry experts like Aqua Digitizing.
What’s the point of making your logo into a patch?
Custom patches help businesses and organizations:
Make your brand more visible
Uniforms for professionals
Events and products to promote
Make your stuff more valuable
Recognize your brand
Brand research from reputable sources like HubSpot shows that consistent visual branding improves customer loyalty.
Designing Custom Patches: The Basics
It’s important to understand the different patch types before converting your logo. Certain logo designs work better with certain patch styles.
Custom patches types
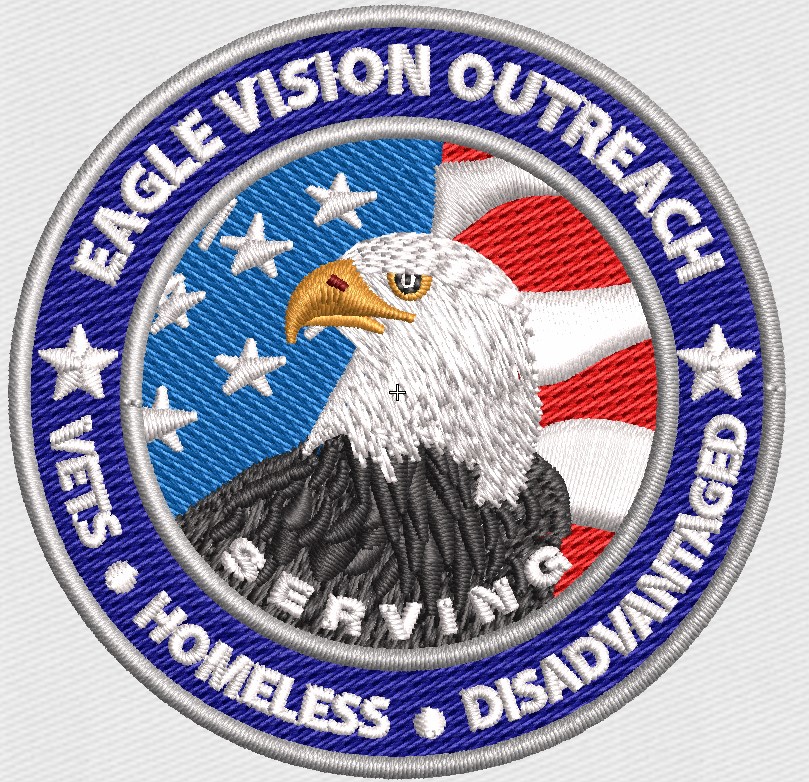
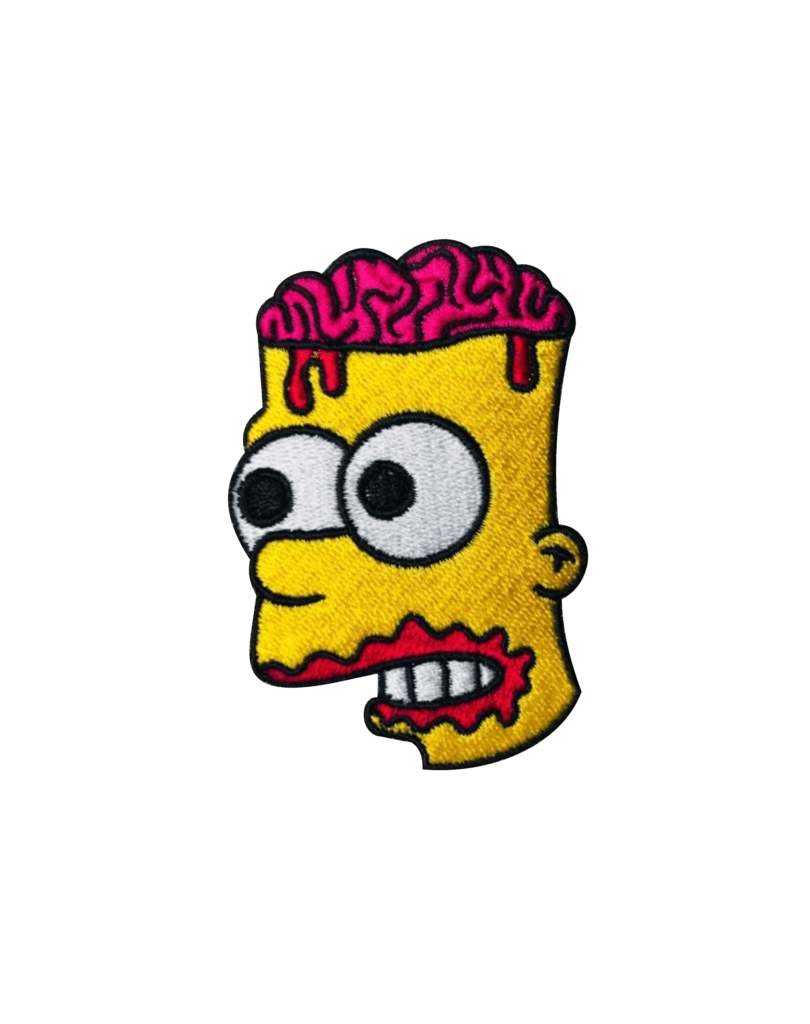
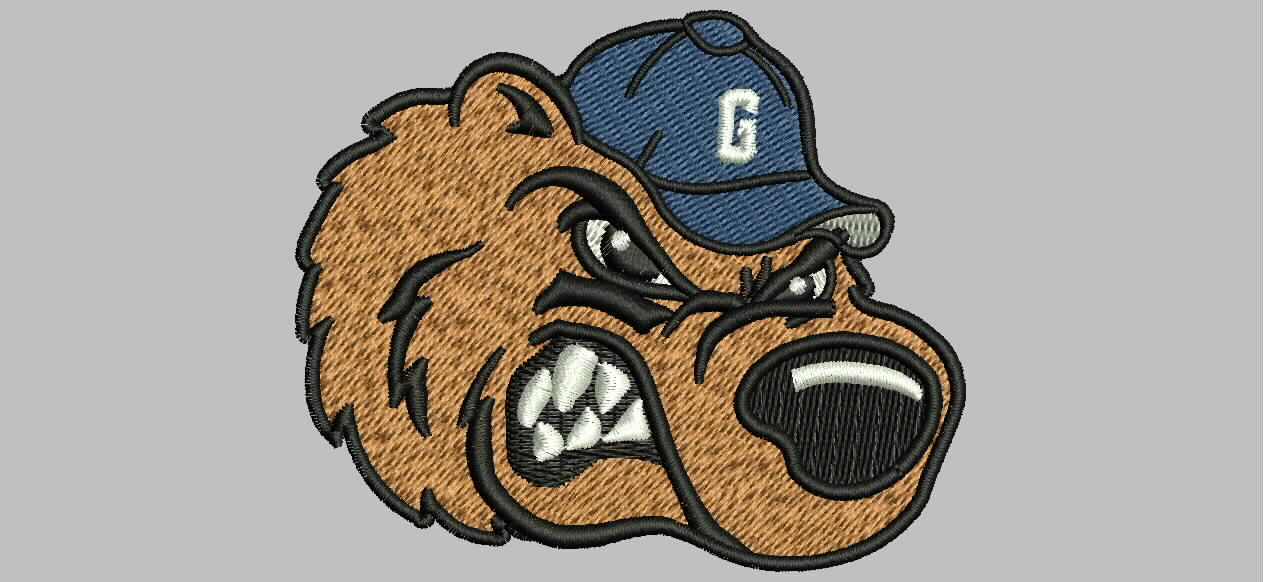
Embroidered Patches
It’s best for bold designs and traditional branding.
The best parts:
Colorful threads
Textured look
Stitching that lasts
Branding and uniforms
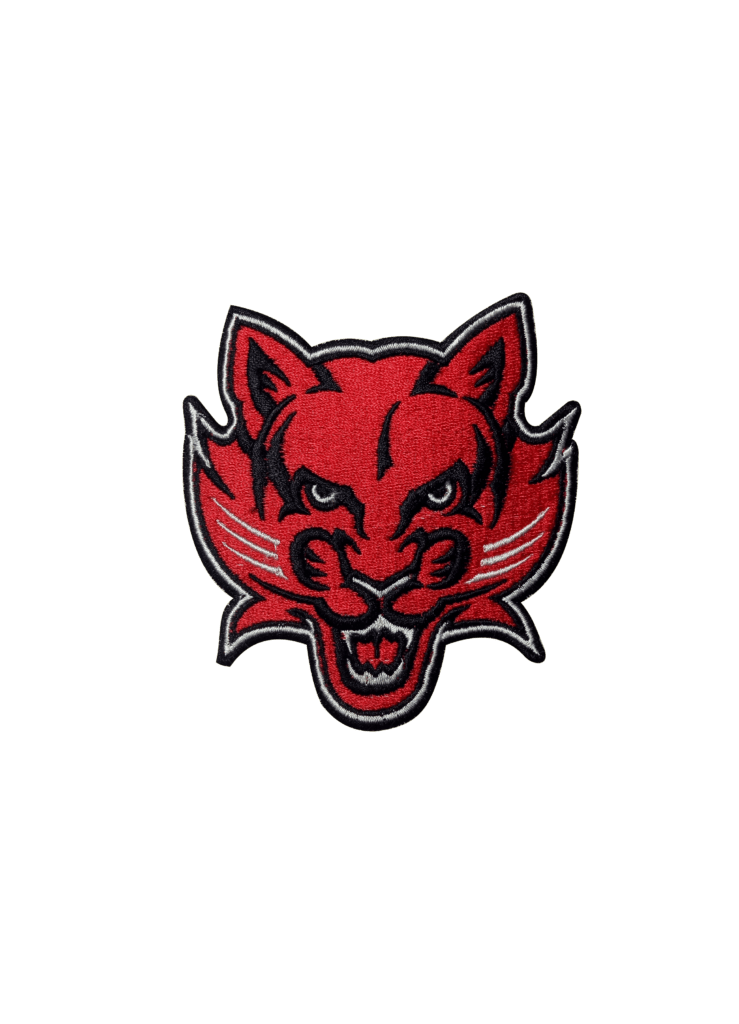
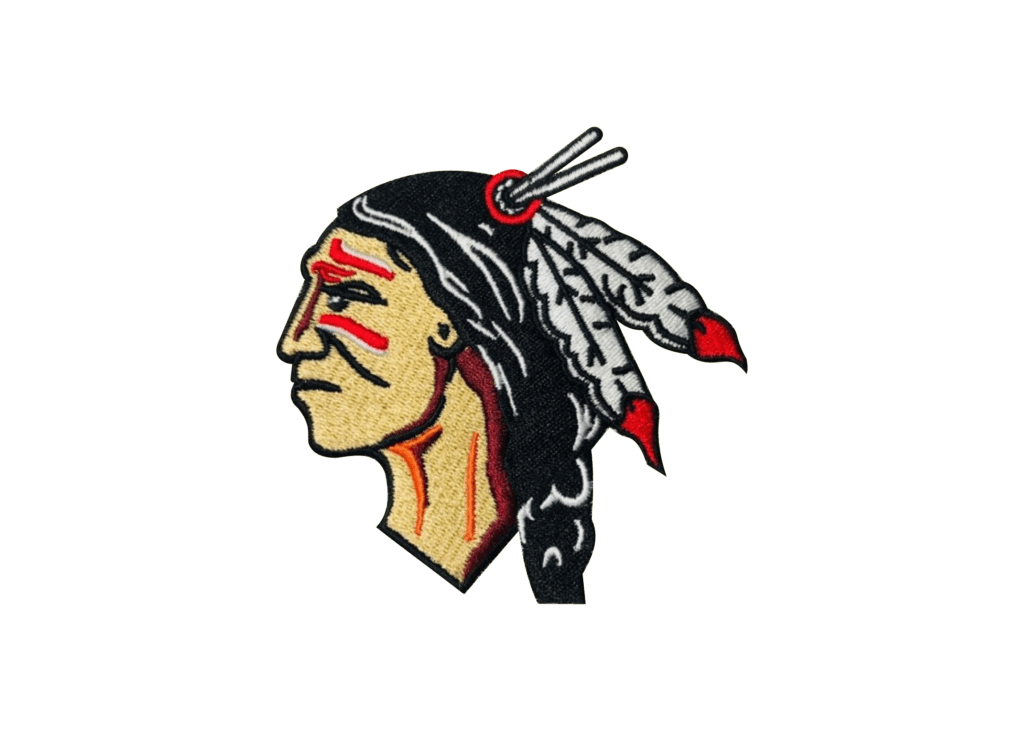
Woven Patches
It’s perfect for logos with fine details or small typography.
The best parts:
Accurate detail
Finish is smooth
Perfect for complex artwork
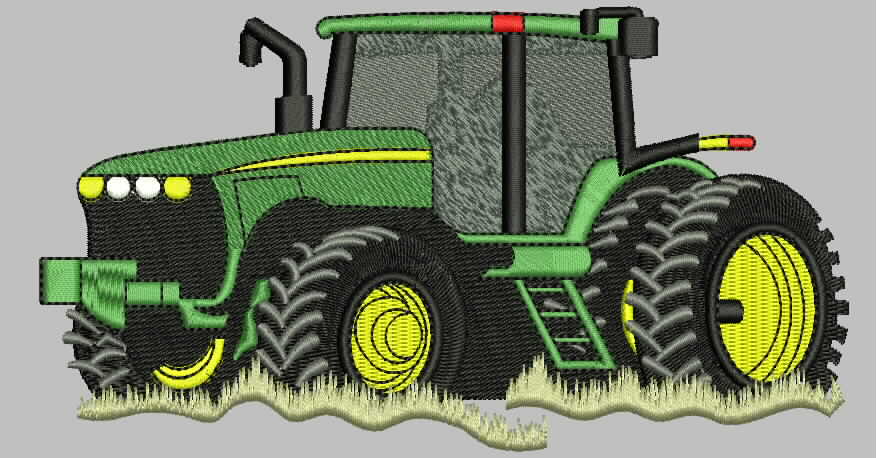
PVC Patches
Rubber patches designed for durability.
The best parts:
Weatherproof and waterproof
Material that’s flexible
Outdoor brands will love it
Looks 3D
If your logo has small text, woven patches usually work better than embroidery.
Custom Patch Design Process Step-by-Step
Step 1: Simplify Your Logo Design
There are a lot of details in logos that can’t be replicated by embroidery or stitching.
Preparing your logo:
Get rid of unnecessary gradients
Get rid of tiny details
Keep your lines thin
Shapes that stand out
Don’t forget the important stuff
Step 2: Choose the Right Color Scheme
Patches are made with thread colors instead of digital colors. That’s why color conversion is important.
Practices to follow:
Colors from Pantone (PMS)
3–5 colors max
Gradients are bad
Colors with high contrast
Keep your brand consistent
Learn more about Pantone color systems.
Step 3: Select the Ideal Patch Size and Shape
Readability and visual quality are directly affected by patch size.
Recommended patch sizes:
Logos between 2 and 3 inches
Standard branding patches are 3-4 inches
Designs between 4 and 5 inches
Shapes of patches:
Brand logos in a circle
Corporate designs in squares
Patches with rectangle names
Unique brand identity with custom die-cuts
Text smaller than 0.2 inches may not embroider well.
Step 4: Convert your logo to vector
Vector files are needed for patch manufacturers.
Here are some common formats:
AI
EPS
SVG
PDF vector files
Vector files allow:
Clean scaling
Stitch mapping that’s accurate
Get professional results with digitizing
Aqua Digitizing specializes in converting logos into embroidery-ready files.
Get more info on Aqua Digitizing’s logo digitizing services.
Step 5: Optimize your stitch density and borders
The stitch patterns are adjusted by professional digitizers.
Here are some key factors:
Density of stitches
Sets how tight the embroidery looks.
Density ensures:
Sturdiness
Design that looks good
Appearance
Border Options
Borders on patches:
Traditional thick edge with merrowed border
Finished with a heat-cut border
Precision shapes thanks to laser cutting
A good border improves both aesthetics and durability.
Step 6: Get a sample before you make it in bulk
Don’t skip sampling.
Prototypes help verify:
Accuracy of colors
Stitch quality
Logo readability
Size proportion
Quality of materials
Manufacturers always recommend sampling before full production.
Avoid these mistakes when converting logos to patches
Avoid these errors:
Too many colors
Text in tiny font
Choosing the wrong patch
Ignoring the stitch limit
Sampling skips
Professionals aren’t there
Costs can go up and quality can go down because of these mistakes.
Why Work With Professional Digitizing Services Like Aqua Digitizing?
Digitizers know embroidery limitations and production standards.
Here are some benefits:
Logo conversion experts
A clean stitch map
Files that are ready for production
Turnaround faster
Reduced production errors
You should use a company like Aqua Digitizing to make sure your logo looks great on patches.
Explore professional custom patch digitizing services at Aqua Digitizing.
Final Thoughts
Creating a custom patch design requires careful planning, design optimization, and professional digitizing. You can make patches that look professional and last a long time by simplifying your logo, choosing the right patch type, optimizing colors, and testing samples.
Working with experienced digitizing providers like Aqua Digitizing can make the process smooth and efficient.
Frequently Asked Questions (FAQ)
How do I convert my logo into a patch design?
You need to simplify your logo, convert it into vector format, select patch type, choose colors, and digitize it for embroidery production.
What file format is best for patch design?
Vector formats like AI, EPS, and SVG are ideal.
How many colors should a patch have?
Most embroidery patches use 3–5 colors for best clarity.
Can any logo be converted into a patch?
Yes, but complex logos may need simplification.
What is logo digitizing?
Logo digitizing is the process of converting artwork into stitch files for embroidery machines.