
How to Create Embroidery Patches: A Step-by-Step Guide
Patches are a timeless and creative way to dress up your clothes, accessories, and gear. Whether you’re making them for yourself or your business, this guide will walk you through the process so your patches look great and last. Make custom patches that stand out by following this easy, step-by-step guide!
Embroidery Patches: What Are They?
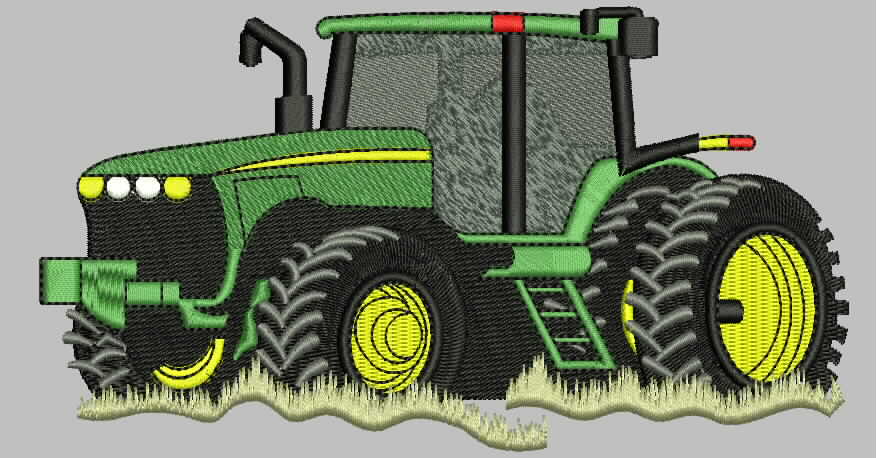
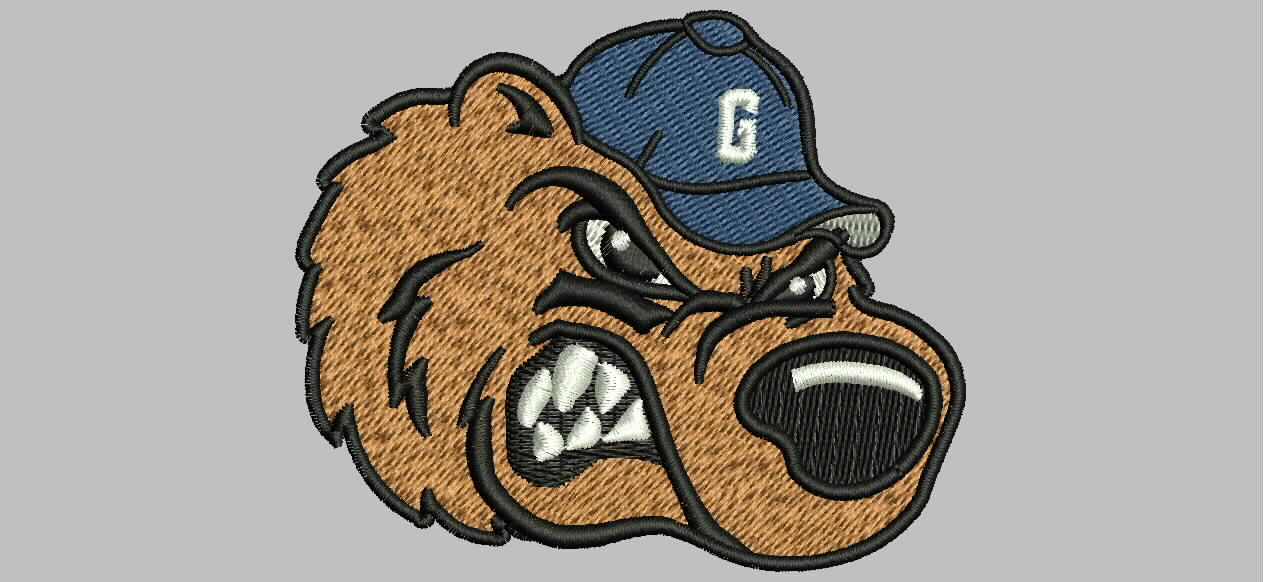
Thread is stitched onto fabric to make embroidery patches. You can customize uniforms, jackets, bags, and promotional materials with them. It’s easy to customize patches in terms of size, shape, color, and design. The creative possibilities are endless when it comes to embroidery patches, whether you’re designing them for a business or just for fun.
Here’s what you’ll need
Before you start making patches, make sure you have these things:
Embroidery machine: Needed for mass production.
The best embroidery thread is polyester or rayon.
For a sturdy base, use twill or felt.
For easy application, heat-seal or iron on the adhesive backing.
Software for digitizing and preparing designs for embroidery.
Extra fabric can be trimmed with scissors.
For any manual finishing touches, use needle and thread.
How to make embroidery patches step-by-step
1. Make your patch
Conceptualizing your patch is the first step. Sketch it or use embroidery software to make a digital version. Make sure your design works with your embroidery machine. Pick your colors, shapes, and sizes based on your vision.
2. Pick the right fabric
If you’re going to use a backing material, choose something tough like twill or felt. You can embroider on these fabrics, and they’re durable.
3. Get your embroidery machine set up
Your embroidery machine needs to be loaded with the digitized design. Make sure the machine settings are right and choose the right thread colors. In order to achieve optimal stitch quality and a neat and professional look, this is key.
4. Sew the design
Start the embroidery machine and put your fabric in the hoop. Your patch will be stitched onto the fabric, bringing it to life.
5. Clean and trim the patch
After stitching is done, trim around the design, leaving a small border. Make sure your edges are clean and remove any loose threads.
6. Put the adhesive back on
Make it easier to apply by adding a heat-seal or iron-on backing. Later on, you can attach the patch to clothing or accessories.
7. Put the patch on and test it
If you’re going to apply your patch permanently, test it on a small piece of fabric. Use a heat press or iron to secure the patch if it has an adhesive backing. Sew the patch to the surface to make it more durable.
High-Quality Patches: Tips
Avoid fading and fraying by using high-quality thread.
Choose vibrant colors: Bold colors stand out better against the fabric and make the patch stand out.
Tension your embroidery machine: Proper tension ensures even stitching and a polished finish.
Make sure everything works on scrap fabric before making a batch.
Embroidery patches: why should you choose them?
A lot of people like embroidery patches because they have several advantages:
Customize your logo for promotional items or uniforms.
Make your clothes or accessories unique.
Make patches for events, teams, or special occasions.
Final thoughts
Making embroidery patches is fun and creative. You can use embroidery patches to add a personal touch to your gear or promote your brand. Here’s a step-by-step guide to making high-quality, durable patches that stand out.
Bring your embroidery patch ideas to life today! It’s easy to make stunning, custom patches with the right materials and a little creativity.
FAQs About Creating Embroidery Patches
1. What fabrics are best for making embroidery patches?
For embroidery patches, twill and felt are ideal fabrics as they provide a sturdy base and ensure durability. These materials hold embroidery stitches well and last longer.
2. Can I create embroidery patches without an embroidery machine?
Yes, you can create embroidery patches manually by hand-stitching designs onto fabric. However, using an embroidery machine speeds up the process and ensures a more precise result, especially for complex or mass-produced designs.
3. What is the best thread to use for embroidery patches?
For durability and color retention, polyester and rayon embroidery threads are the best choices. Polyester is more resistant to fading and fraying, while rayon offers a silky sheen.
4. How do I apply the adhesive backing to an embroidery patch?
To apply the adhesive backing, use either a heat-seal or iron-on method. Heat the adhesive backing to bond it securely to the patch, or use an iron to press it onto the fabric for easy attachment.
5. How do I prevent my embroidery patches from fraying?
To prevent fraying, make sure to use high-quality thread, and trim your patches carefully, leaving a small border. Additionally, you can apply a fabric sealant along the edges to reinforce the patch.
6. Can I wash embroidered patches once they’re attached?
Yes, once your patch is securely attached to fabric, whether through heat-seal or sewing, it should be durable enough to withstand washing. For best results, turn the fabric inside out when washing.
7. How do I digitize my design for embroidery?
Digitizing involves converting your design into a file format compatible with embroidery machines, such as .DST or .EXP. You can use embroidery software like Wilcom or TruEmbroidery to digitize your design and adjust it for machine stitching.
8. Can embroidery patches be used for branding?
Yes, embroidery patches are an excellent way to brand your business. You can customize patches with your logo or other branding elements and use them on uniforms, promotional materials, or products.
9. How do I create multiple embroidery patches quickly?
If you’re making a batch of patches, using an embroidery machine is essential. Load your design into the machine, and it will produce several patches at once, significantly speeding up the process.
10. How do I fix mistakes in embroidery?
If you make a mistake while stitching, simply undo the stitches and re-stitch the design. For minor errors, use small scissors or a seam ripper to carefully remove the stitching and fix the patch.