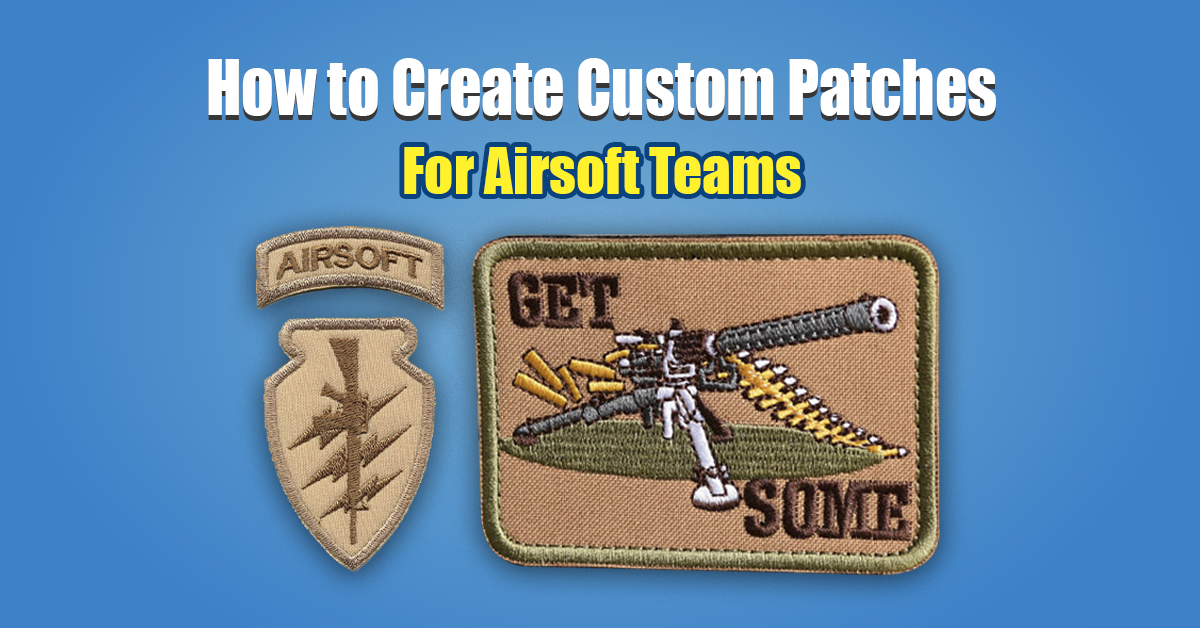
How to Create Custom Patches for Airsoft Teams (Design, Materials, Backing & Ordering)
Airsoft patches help your team look unified, get recognized in-game, and build pride. The guide walks you through designing, choosing materials, and ordering durable patches-plus how Aqua Digitizing can help.
Airsoft teams need custom patches
There’s more to custom patches than just decoration:
One visual with your name, logo, colors, and motto.
When you’re playing fast, you’ll be able to spot your teammates easier.
Your squad will look organized at events and milsim games with this.
Having a sense of belonging: Members feel like they’re part of something bigger.
Step 1: Define your patch design (what works best in airsoft)
Lock the concept before you think about materials.
Pick your favorite parts
Name of the team (short and readable)
(Simple shapes = better visibility)
Motto or call sign (optional)
Est. (Optional) Year
Follow the “field readability” rules
Games move fast, so your patch should be easy to spot:
Outline in bold
Text shouldn’t be too thin
Keep it to 2–4 main colors
Look at the design from “arm’s length”
Pick a shape and size
Common patch shapes:
(Clean and classic)
A shield with a tactical/milisim vibe
Name tapes (great for rectangles)
Sizes:
3″-4″ for shoulders and chest
4″-5″ for backs
1”×4” for name tape
Step 2: Choose the right patch type (embroidered, PVC, woven)
Depending on your environment and how detailed your design is, pick a patch style.
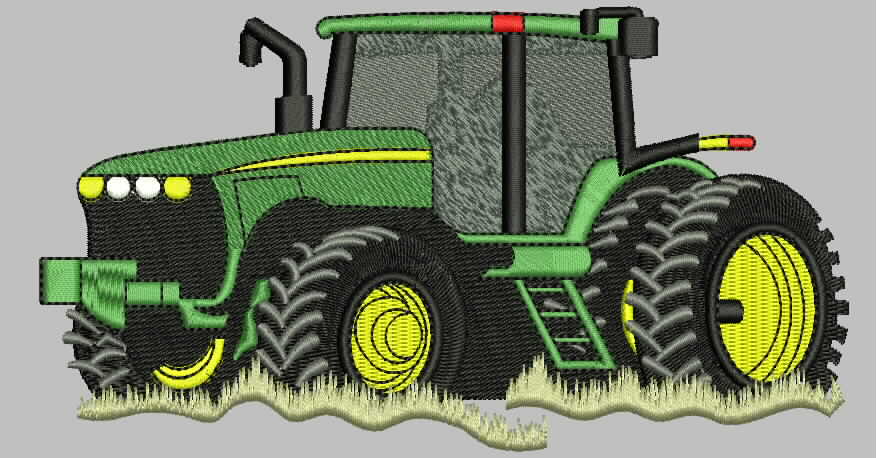
Patches with embroidery (most popular)
The best for: bold logos, classic look, strong durability
The pros:
A traditional texture with a premium feel
Durable stitching
Think about it if:There’s not a lot of detail in your design
Patches made of PVC (rubber) (best for rough play outside)
The best for wet weather, mud, and heavy outdoor use
The pros:
Easy to clean and waterproof
Looks tactical on the gear
Think about it if:You play outdoors a lot and want something tough
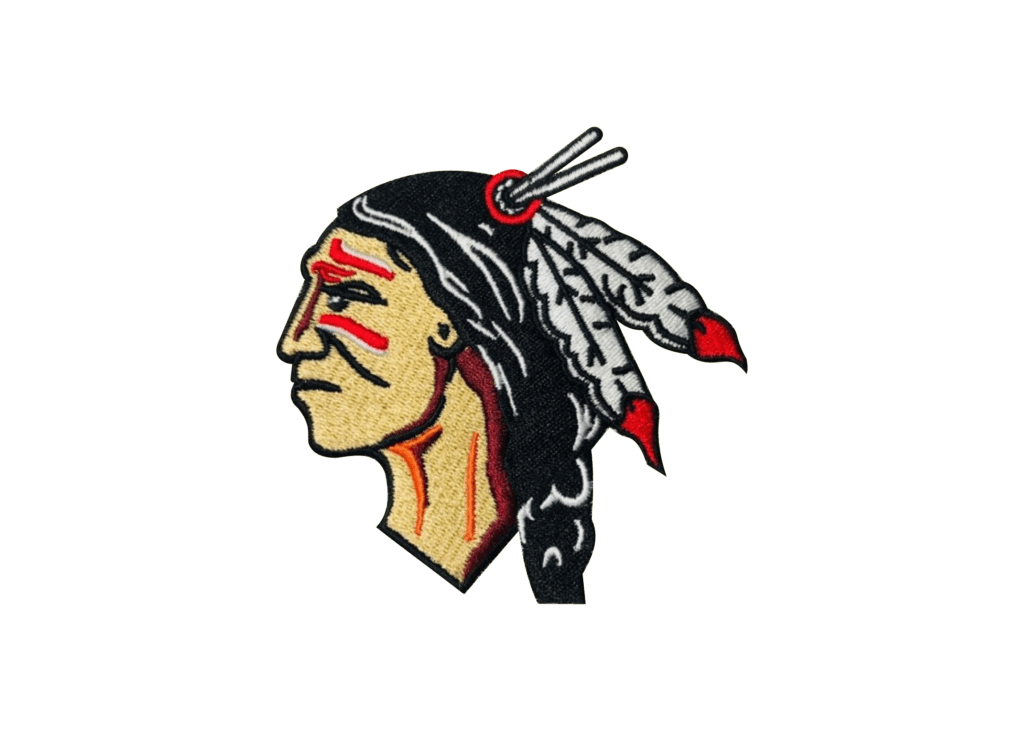
Weaved patches (best for small details)
Perfect for: fine text, detailed logos, clean finish
The pros:
Details are sharper than embroidery
Slim and lightweight
Think about it if:There are small letters or complicated shapes in your design
Step 3: Decide how you’re going to attach it
It’s just as important to have a good backing as a good patch.
Velcro (hook & loop): Best for plate carriers, helmets, tactical bags (swap patches quickly)
For uniforms you’ll keep for a long time, sew-ons are best (most secure)
Quick, but not ideal for heavy field use (loosens with sweat/heat).
Airsoft recommendation: Velcro backing for tactical gear + sew-on for uniforms.
Step 4: Prepare your artwork for manufacturing (avoid expensive mistakes)
You need a production-friendly file to get a clean final patch.
File types to use:
Formats: AI, EPS, SVG, PDF
Raster high-res (if vector isn’t available): PNG/JPG (300 DPI)
Checklist before sending:
Make sure everything is spelled correctly (team name, motto)
Make sure you specify the exact size (e.g., 3.5″ diameter)
Describe the color scheme (Pantone if possible, or clear hex codes)
Check out the special finishes (3D PVC, merrow border, glow-in-the-dark, etc.)
Step 5: Find a reliable patch maker
Compare consistency and proofing when comparing manufacturers.
Check out:
Portfolio of real patchwork
Material/backing options
Pricing by size and quantity
Proof/mockup before production
Custom patches with Aqua Digitizing
Aqua Digitizing makes custom patches, including embroidered patches and other digitizing services. Aqua Digitizing makes durable, high-quality patches. With Velcro and sew-on backing options, they’re compatible with tactical gear and uniforms. Thanks to their attention to detail and proofing process, any team or organization will get a perfect product.
Step 6: Review and approve the proof (don’t skip it)
Review the proof before production:
Match your design colors
The right size and shape
Make sure the backing is right (velcro vs sew-on)
It’s easy to read the text spacing
The border type is correct (merrow/heat-cut)
Ask for a photo-style mockup of tactical gear.
Checklist of what makes a “good” airsoft patch
Your final patch should look like this:
✅ Consistent border / clean edges
✅ Readable from 1 meter away
✅ Patches have the same colors
✅ Strong Velcro grip (if backing is Velcro)
✅ No loose threads or warping
Tips for extending the life of patches
Wash and air dry embroidery/woven
Using a damp cloth, wipe down PVC
Heat (especially iron-on backing) shouldn’t be used
FAQs
What patch type is best for outdoor airsoft?
PVC is usually best for rain, mud, and rough outdoor use because it’s waterproof and easy to clean.
What size should an airsoft team patch be?
Most teams choose 3”–4” for sleeves/chest and 1”×4” for name tapes.
Should we use Velcro or sew-on backing?
Use Velcro for tactical gear (swap quickly), and sew-on for permanent uniform placement.