JPG Image or Logo to Embroidery File Format Free – The Ultimate Guide
There is a person in the world who believes that embroidery on machines is simple that you upload your logo and it creates the design. However, we’re here to blow the air because if you’re trying to transform the JPG photo or logo into an embroidery pattern it will be an arduous procedure. In this article, we provide the complete tutorial for you!
JPG – What Is It?
They are the most common image formats that come with the pixels configuration. If you transfer photos from your phone to your computer it’s likely to come of JPG format. This format is excellent and is widely used due to the fact that they’re compressed which means that the quality will be better even at a smaller size. Additionally they can be used with browsers that run on the web.
Embroidery File – What Is It?
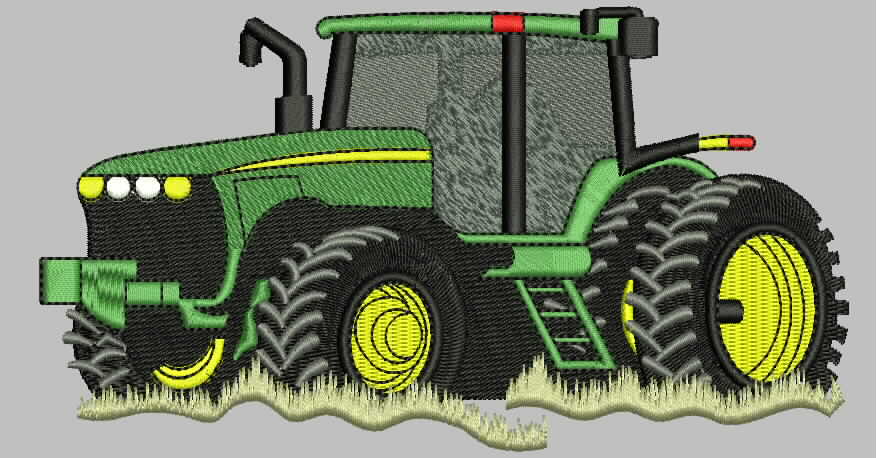
There are various types of embroidery files that range from pixels-based to vector-based graphics. The embroidery file must include a number of different elements to make sure that the machine is able to complete the embroidery task. The information contained in this file includes different colors, types of stitching such as stitch density angle, as well as order. There are various formats for embroidery files. However, it is easy to convert JPG to an embroidery format.
Logo Digitization
When it comes to JPG images or graphics embroidery format it is in the category of digitization of logos. This is crucial because embroidery machines aren’t built to read the same files as computers can. Therefore, it is essential that you digitally digitize your logo to ensure that the embroidery machine is able to understand it and start embroidering. Since there are a variety of styles of embroidery, machines that stitch embroidery can only work with certain formats. We share the data;
- Brother’s embroidery machines are compatible with .kwk
- The happy embroidery machinework using .tap
- Tajima embroiderers are compatible using .dst
- Janome’s machines for embroidery are compatible using .jef
Converting JPG Image To Embroidery File Format
Now that we’ve provided details on both types of files, it is time to begin the process of conversion. Be aware that you’ll require digitizing software to convert the formats. In the following section we will review the steps to follow;
1. Uploading The Logo
In the beginning, you need to first upload your JPG graphic or image onto the program you’ve chosen. Check to see that you’ve cropped off the unneeded area (the empty space) to ensure that no extra embroidery is done.
2. Setting The Design Size
After you’ve uploaded the cropped logo, you can add the desired dimensions and size. Be aware that the dimensions you input will determine the size of embroidery therefore be patient when drawing your dimensions. Once you’ve selected the sizes you would like, make sure to make sure to lock the logo.
3. Select The Stitch Type
There are a variety of stitch types that are available in various styles and textures. Furthermore, every stitch type comes with a certain length of stitches that must be taken into consideration. When choosing between stitch types, think about the fabric’s pull and push and the type. In the next section we provide details on three kinds of stitches, like;
Straight stitch This is the basic stitch where straight lines are repeated to make a pattern. The stitchers can create more thick lines using repeated stitch. It is suitable for curving shapes and is ideal for detailed work, outlining as well as shading
Satin stitch This is an acceptable option when you are looking to create text embroidery. It is longer that results in an attractive appearance. the length increases to 12.1mm. The satin stitch is ideal for borders, text, words, and embroidery that has to appear shiny
Full stitch This is also called ceding stitch or Tatami stitch, and is utilized to fill in the gaps. It can give an appearance that is woven and its length is upwards to 4mm. It is ideal for making the texture
appearance to the design, adding color appearance, filling in designs, and for larger designs
4. Setting The Directions
After you’ve selected the stitch type you wish to use and you have selected the desired stitch type, you must decide the direction of outline for the map of embroidery machines. In simple terms it is helpful to provide sequential instructions for stitching. Be aware that the stitch patterns can be different in color, contours and textures based on the stitch. Therefore, think carefully. In addition, setting the directions will guarantee the same pattern and lower consumption of thread, and an efficient time.
5. Setting The Thread Colors
The program will display the color bar and you will need to select the thread color you want to use for embroidery. It is essential to align the thread colors with those of the Pantone color of your logo.
6. Transferring Files To Embroidery Machines
After you’ve chosen all features and designs, you’ll be able to transfer the new format file to your embroidery machine. It is dependent on how you’re using the program, and you could choose between a flashcard or USB cable for the transfer of the files.
If you are only looking to transform the JPG logo to an embroidery format then this is the last step since the new format is then transferred to the software for embroidery. The next step is that you will only need to set up the machines to convert the format of the embroidery file to real-time embroidery onto the cloth.