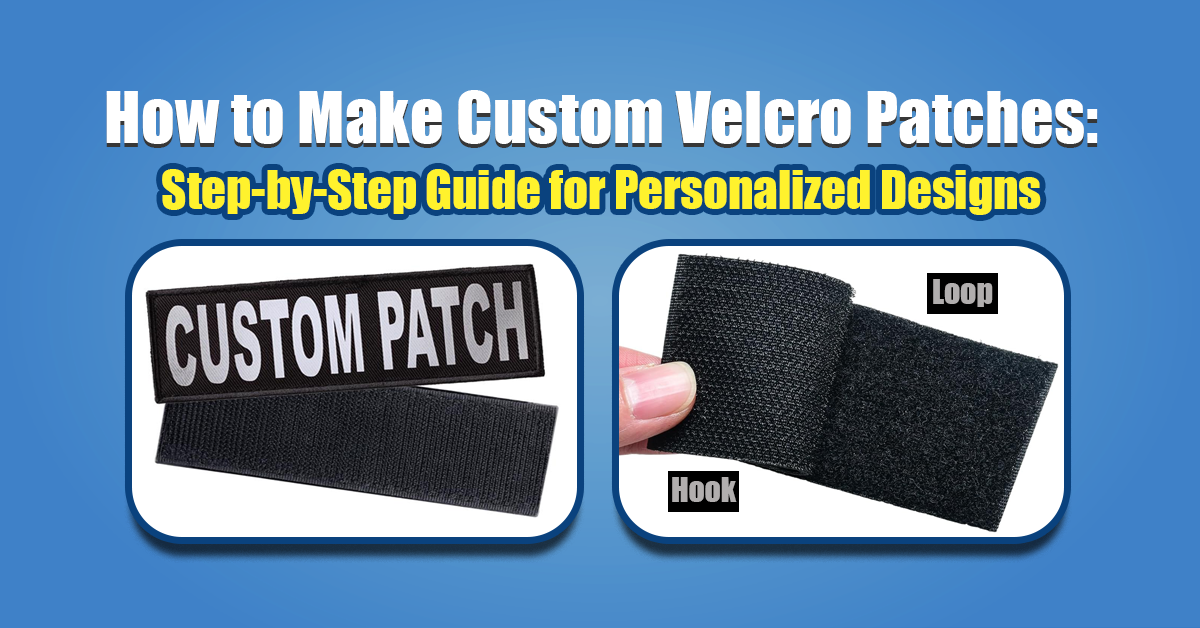
Step-by-Step Guide to Making Velcro Patches
Velcro patches are a great way to personalize clothing, bags, and accessories. If you’re making patches for a business, sports team, or personal project, this step-by-step guide will help you. Discover everything you need to know about choosing the right materials and finishing your patch.
Custom Velcro Patches: What Are They?
Patches with Velcro backing are embroidered or printed designs. Patches with Velcro (hook and loop) backing can be easily attached, removed, and repositioned, making them ideal for military uniforms, sports teams, promotions, and personal accessories.
These patches come in a variety of shapes, sizes, and colors, so you can customize them to your heart’s content. Let’s talk about how to make your own Velcro patches.
Custom Velcro Patch Materials
Here’s what you’ll need to make your own Velcro patches:
Fabric printer or embroidery machine: To make your design on fabric.
The most common fabrics are twill and polyester.
This patch attaches and detaches easily with Velcro (Hook and Loop).
Choose colors that match or contrast with your design.
For cutting the fabric to shape, you’ll need scissors or a cutting machine.
Adds extra durability to your patch with heat-seal backing.
Patch design software: Adobe Illustrator or something similar.
Making Custom Velcro Patches: Step-by-Step
Make your own Velcro patches with these simple steps:
1. Design Your Patch
Create a digital version of your patch in your design software.
Ensure the design is clear, simple, and fits your desired size (generally between 2-5 inches).
If you want a specific look, choose bold colors and readable fonts.
For easier embroidery or printing, simplify intricate details.
2. Transfer the Design
Option 1: If you’re using an embroidery machine, load your design into the machine software.
Option 2: If you’re using a fabric printer, print your design directly onto the fabric.
Don’t make your embroidery too dense or sparse by setting the stitch density wrong.
Ensure the fabric is aligned and tensioned correctly.
3. Trim the fabric
Cut the fabric to the shape you want with scissors or a cutting machine after the design is transferred.
Avoid cutting into the design by leaving a small border around it (about 1/4 inch).
It depends on your design whether you want squares, circles, or custom shapes.
4. Print or embroider the design
Set up your embroidery machine, pick your thread color, and embroider the design onto the fabric. Optimize your machine settings for a clean stitch and good fabric tension.
You can print the design directly onto the fabric with your fabric printer. When you’re going to expose the patch to the elements, use high-quality ink.
5. Put the Velcro back on
Your patch should be the same size as the Velcro (hook side).
Option 1: Sew the Velcro onto the back of the patch using a strong, consistent stitch.
Option 2: Alternatively, use fabric glue for a no-sew option.
Apply a heat-seal backing to Velcro to make sure it stays in place.
Personal Experience: Creating Custom Velcro Patches for My Own Brand
When I first made custom Velcro patches for my business, I was amazed at how easy and effective it was. To promote my brand, I wanted unique patches I could easily attach to my products. With Adobe Illustrator, I designed a patch with my company logo in bold, contrasting colors. After that, I embroidered the design on durable twill fabric.
Using a fabric cutter, I cut out the patches after the embroidery was done, giving me perfectly clean edges. Attaching the Velcro backing was the most satisfying part, as it added reusability. The patches were easy to put on bags, jackets, and hats, and they could switch out designs whenever they wanted.
The end result was a durable, high-quality product that not only looked great but also let my customers customize it. After having this hands-on experience, I’m planning to make more Velcro patches in the future.
Custom Velcro Patches: Benefits
1. Reusability
You can easily attach and remove Velcro patches, so they’re great for uniforms, bags, and other accessories where you change designs all the time.
2. Customization
Whether you want to represent a brand, team, or yourself, you can design your own patches.
3. Durability
Velcro patches can withstand harsh environments when they’re made with high-quality materials.
4. Budget-friendly
Custom patches are more affordable than premade options, especially if you’re going to make a lot.
Custom Velcro Patches: Common Uses
Velcro patches are versatile and can be used for a lot of things:
Velcro patches are often used on uniforms to identify ranks, divisions, and units.
Teams: Athletes can wear patches to represent their teams.
For marketing and giveaways, brands can make Velcro patches.
Design unique patches for clothing, bags, or hats to give as gifts.
Custom Velcro Patches: Tips for Making Them
Invest in quality fabrics: Polyester or twill are durable.
Be sure to stitch or print precisely to avoid fraying or smudging, whether you’re using an embroidery machine or fabric printer.
Make sure you choose Velcro that holds the patch securely but is easy to remove.
To keep the color and quality of your patches, use UV-resistant thread and fabric.
Final thoughts
You can make custom Velcro patches for your business or to personalize your belongings. You can make functional and stylish patches with the right materials, design tools, and a little creativity. Make your own Velcro patches with this step-by-step guide!
For more tips and guides on crafting and customizing your items, check out our other DIY articles on crafting essentials and fabric design techniques.