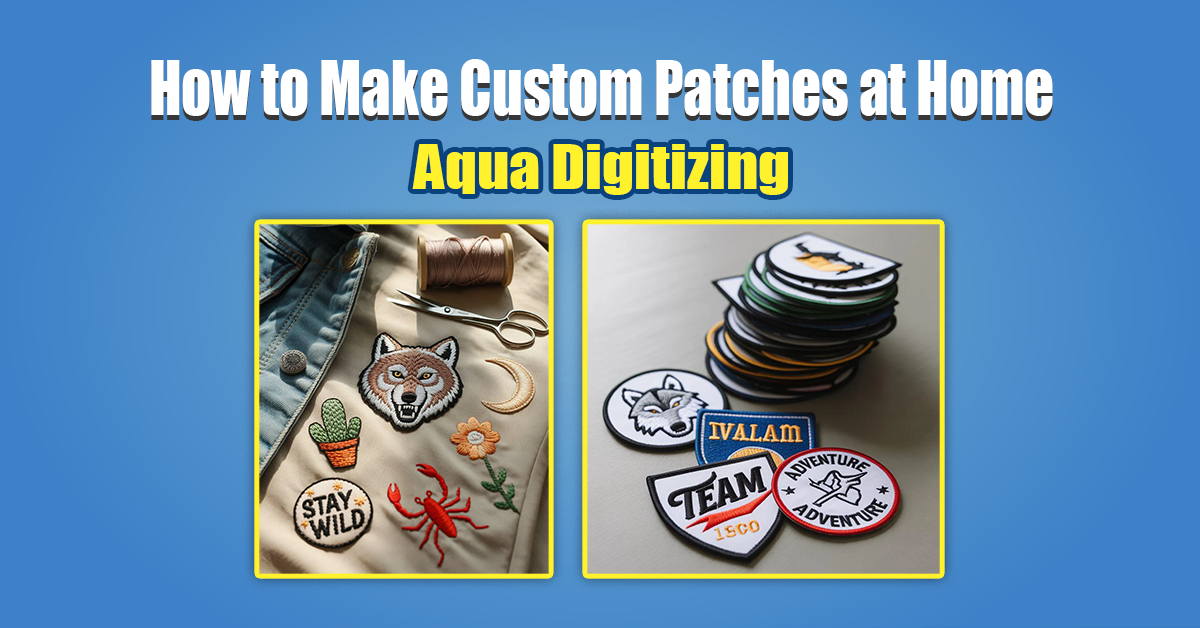
How to Make Custom Patches at Home: A Simple DIY Guide
You can add personality to jackets, hats, backpacks, and uniforms with custom patches. Learn how to make custom patches at home-with or without sewing-so your designs look clean, durable, and professional.
Would you rather order than do it yourself? Aqua Digitizing makes custom patches too (embroidered, woven, chenille, PVC) with iron-on, sew-on, and hook-and-loop backings. Check out the options
You’ll need
The fabric can be cotton twill (classic look) or felt (no fraying, beginner-friendly)
Fabric paint/markers or embroidery floss/floss
Needle or sewing machine
Keeps fabric taut with embroidery hoop (optional)
Adhesive for webs/iron-ons or fabric glue
(Optional) Interface/stabilizer
Iron, pencil/fabric chalk, fabric scissors
For woven fabrics, fray check is optional
Helpful stitch reference: DMC stitch library
Choose your fabric and backing
Fabric
The edges of felt don’t fray, so it’s great for badges and beginner projects.
Sturdy “official patch” look; seal edges with a blanket stitch or Fray Check.
Backing
Sew-ons are the strongest and most washable; perfect for denim and uniforms.
Follow the heat/time recommendations for the adhesive brand if you’re ironing on cotton.
For bags and hats, Velcro® hook-and-loop is removable.
Peel-and-stick: temporary; best for costumes or events.
DIY Embroidered Patch: Step-by-Step
1) Design & Transfer
Make a bold, simple design.
Cut a paper template to test size/placement.
Trace the outline onto the fabric with fabric pencil or chalk.
Do you have a logo? Make it clean line art so it’s easier to stitch. Try our embroidery digitizing services if you need help.
2) Stabilize & Hoop (Optional but helpful)
Prevent puckers by fusing light interfacing to the back.
Make sure the fabric is evenly tensioned by placing it in an embroidery hoop.
3) Add Details: Stitch or Paint
Embroidery method (most durable):
The outline should be back stitched or split stitched.
You can fill it with satin stitch or long-and-short stitch.
The classic patch edge is blanket stitched.
Using paint or markers (fastest):
Make sure colors are neatly filled; heat-set if you want.
4) Cut the Patch Cleanly
Leave a 2–4 mm border around your design.
For tight corners and curves on twill, use Fray Check.
5) Add the Backing
Cut the adhesive to size, fuse it to the back (no steam), cool, and peel off.
When sewing-on, skip the adhesive; use a neat top-stitch or blanket stitch.
Stitch the hook side to the patch and the loop side to the garment.
6) Finish & Press
You can either blanket stitch the edges (best) or heat-seal polyester felt edges.
Don’t flatten your stitches by pressing face-down on a towel.
No-Sew Patch Methods (Quick Options)
You can print on cotton, iron it, and cut it out.
Backings are peel-and-stick, so they’re great for events.
You can use fabric glue for costumes or decor, but it’s not ideal for frequent washing.
How to Attach Your Patch
Place patch, cover with a pressing cloth, and iron on according to the instructions (usually no steam).
Match thread color and stitch evenly around the edge or border.
Care & Washing
After fusing or gluing, wait 24 hours before washing.
Wash cold on gentle; air dry or tumble dry low.
Re-press edges with a cloth-or stitch corners if they lift.
Troubleshooting & Pro Tips
If your edges fray, choose felt, use Fray Check, or blanket stitch.
Feels weak: increase press time/heat (within fabric limits), and don’t steam.
You can fix puckering by adding stabilizer, reducing thread tension, or tightening the hoop.
You can fix wobbly edges by adding a contrasting border stitch.
Test first on heat-sensitive fabrics (nylon/poly); sew-ons or hook-and-loops are better.
FAQs
Can I make patches without sewing?
Yes—iron-on adhesive, peel-and-stick backings, fabric glue, or printable transfer paper work well.
What size is best for beginners?
Start with 2.5–3 inches—large enough to stitch easily, small enough to finish quickly.
Will iron-on work on polyester or nylon?
Bonding can be tricky on heat-sensitive synthetics. Test a scrap first or use sew-on.
Where can I order custom patches if I don’t want to DIY?
Aqua Digitizing offers custom patches and stitch-ready digitizing. Upload your art and choose your backing here: Custom Patches.
Final thoughts
If you have the right fabric, a clean outline, and a sturdy backing, you can make eye-catching patches at home. Aqua Digitizing can do bulk orders or factory-finish looks in minutes – ready to iron on or sew.