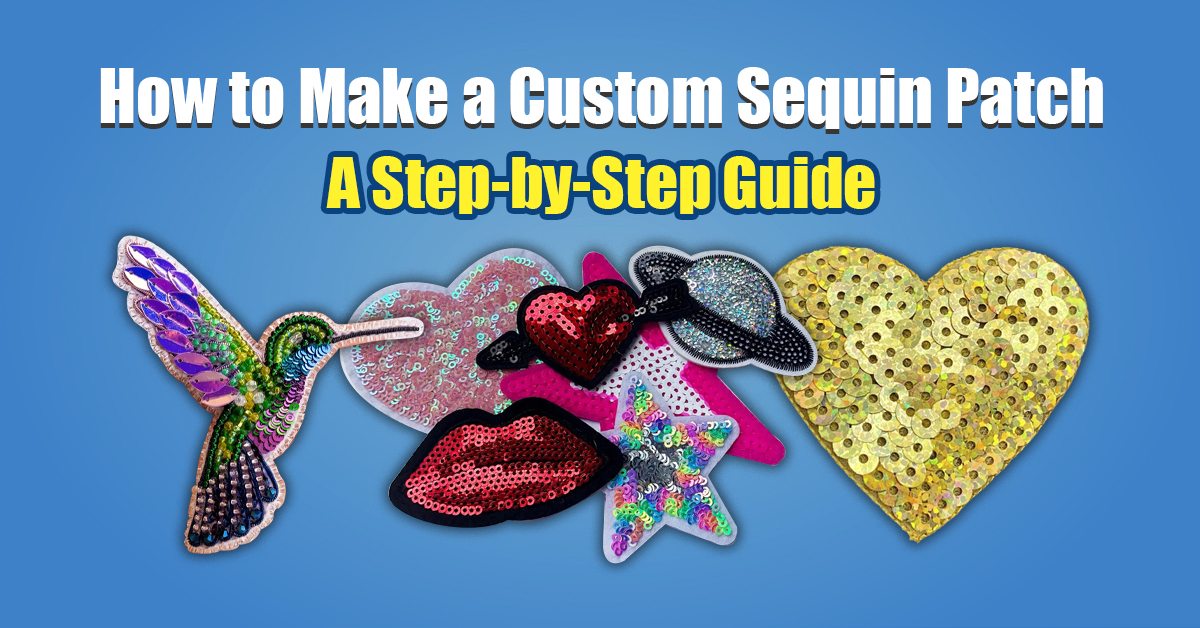
The Step-by-Step Guide to Making Sequin Patches
The perfect way to add sparkle and personality to your clothes, accessories, or crafts is with custom sequin patches. Whether you’re making a thoughtful gift or a one-of-a-kind piece for your wardrobe, making your own custom sequin patch is a rewarding DIY project. Make your own sequin patch with this step-by-step guide.
What you’ll need
To get started, gather the following materials:
Fabric with sequins or loose sequins
You can use felt, denim, or any sturdy fabric you like for the patch base.
Glue or needle and thread
Using a pencil or fabric marker
No-sew iron-on adhesive (optional)
Nail polish (to prevent fraying)
Step 1: Design Your Patch
Sketch your design on paper first. To let the sequins shine, keep the design simple yet bold. It doesn’t matter if it’s a heart, star, or initials, make sure it’s easy to translate. When you’re done:
Use a fabric marker or pencil to trace it on the fabric base.
Make sure the design fits the fabric base.
Step 2: Cut the Base
Cut out the design from your fabric base with scissors. For a professional finish, make sure the edges are smooth and neat. Cut the fabric large enough for your design if you’re using loose sequins.
For the patch base, choose a sturdy fabric like felt or denim, as it gives it more structure and durability.
Step 3: Attach the Sequins
Sewing or gluing are the two ways to attach sequins. The two methods work well, so choose the one you like best.
Sewing is option 1
Make a knot at the end of your needle and thread it with fabric thread.
Follow your design when stitching the sequins on. For full coverage, layer the sequins a little bit.
Finish your patch by tying a knot on the back.
Make sure the sequins stay in place with a strong thread.
Option 2: Gluing
Small sections of the design at a time should be glued with fabric glue.
To make it look polished, slightly overlap the sequins on the glued area.
Make sure the glue is completely dry before handling it.
Make sure you don’t spill too much glue on the fabric when applying glue.
Step 4: Finishing Touches
Attach the sequins:
Clean up the edges of the patch by trimming any excess fabric.
Apply a little clear nail polish to the edges of the fabric to prevent fraying.
Use iron-on adhesive to attach patches to jackets, bags, and shirts.
Note: Iron-on adhesive is a great option for a no-sew method and is especially useful for attaching patches to clothing.
Success Tips
Here’s how to make a vibrant and durable custom sequin patch:
For a more vibrant and long-lasting effect, use high-quality sequins.
Perfect your technique on scrap fabric before you start your final design.
Make unique patterns and effects with different sizes and colors of sequins.
The trend of custom sequin patches
Sequin patches have become more than just a craft; they’ve become a fashion trend. They’re in demand for these reasons:
You can customize your clothes and accessories with sequin patches.
Designing your own patches lets you express yourself creatively.
Update old clothes with sequin patches or spice up new ones with them.
Final Thoughts
Creating your own sequin patch is a fun and satisfying DIY project. Using a few basic materials and a little creativity, you can make a patch that reflects who you are. You can add a touch of sparkle to your wardrobe or give a personalized gift with these sequin patches.
Create your own sequin patches today, and let your imagination run wild!