The Step-by-Step Guide to Making a Custom Biker Patch
A custom biker patch represents your style, your identity, and your loyalty to a cause or club. Here’s a step-by-step guide to creating patches for motorcycle clubs, personal statements, or special events. The end result will be high-quality, custom biker patches that stand out.
Why Custom Biker Patches Matter
Decorative patches on your jacket aren’t all they’re good for. It symbolizes identity, unity, and camaraderie among club members. Well-designed custom patches can:
Showcase your motorcycle club or group affiliation.
Commemorate special occasions, anniversaries, or achievements.
Customize your gear to make it yours.
Step 1: Define Your Patch Design
The first step to creating your custom biker patch is deciding what it’s for. Think about these questions:
1. Theme:
How do you want to convey your message? Your patch should tell a story, whether it’s a symbol of loyalty, a tribute, or something fun.
2. Shape and size:
There are lots of different sizes and shapes of biker patches. Here are some common options:
A shield represents strength or protection.
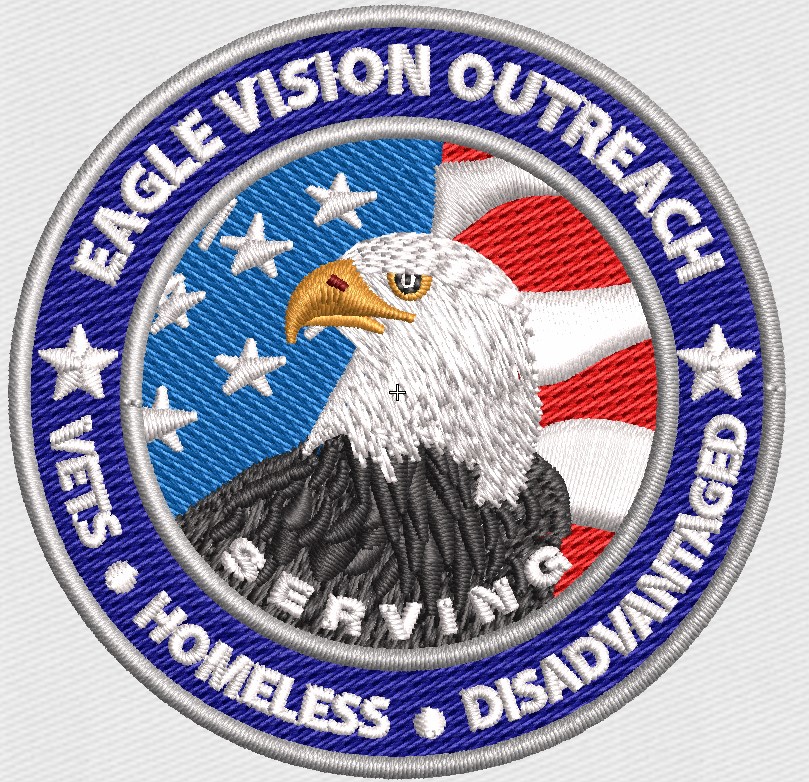
Logos or affiliations usually use circles or ovals.
You can use rectangles for bigger, more detailed designs.
3. Colors:
Make your patch stand out with bold, contrasting colors. The best combinations are black and white or red and yellow.
4. Text:
Make sure your text is simple and legible. You don’t want long phrases cluttering up your design. Words that are short and impactful are best.
Step 2: Choose the Right Materials
It’s important to choose high-quality materials so your biker patch lasts. Here are some options to consider:
Fabric:
Patches made of durable Twill or Felt keep their look even after a lot of use.
Thread:
Make sure your design pops with vibrant, fade-resistant embroidery threads.
Options for backing:
Iron-on: Easy to apply, but not as durable as sewn-on.
Patches that need to be removed or swapped often are ideal for Velcro.
Patches that need to withstand rough conditions are best sewn on.
Step 3: Create the Design
Now that you know the theme, size, and materials, it’s time to design it.
If you’re good at design, you can create the patch yourself using programs like Adobe Illustrator, Photoshop, or Canva.
If you’re not good at design, hire a pro. Aqua Digitizing is a good one
The design should still look good when resized to your patch’s dimensions.
Step 4: Select a Production Method
Depending on your design and budget, you can choose a production method for your custom biker patch.
Embroidery:
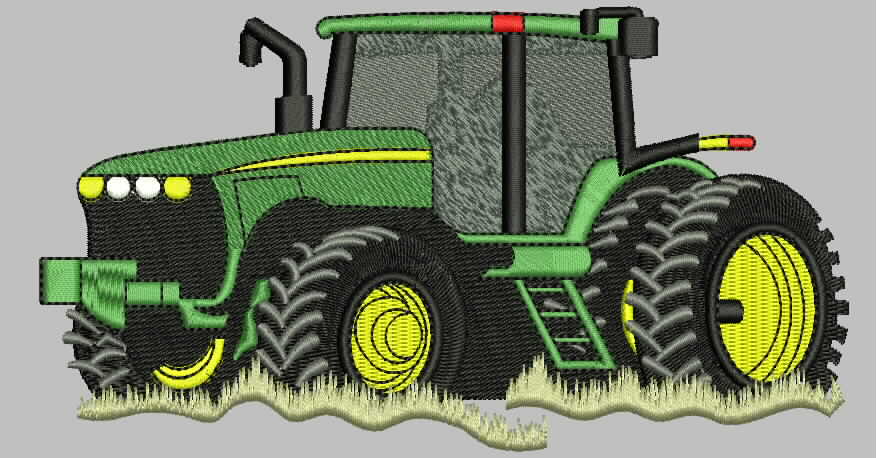
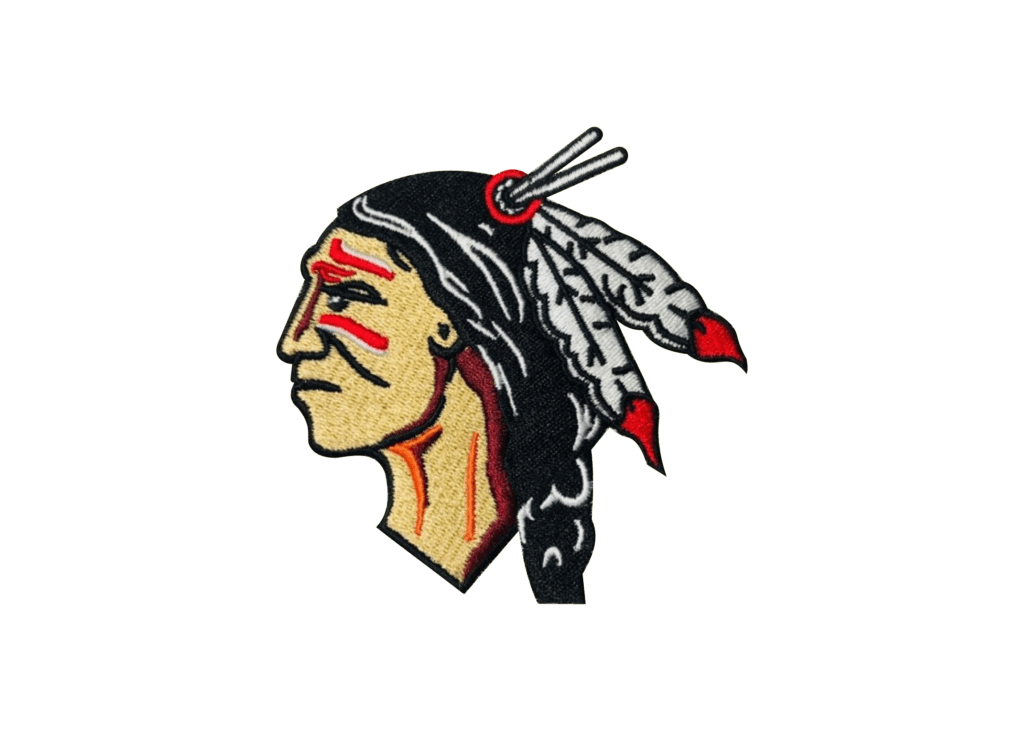
Perfect for a classic, textured look. Patches with embroidered designs have raised, thread-based designs.
Printed Patches:
It’s perfect for intricate designs with detailed imagery. Patches made from printed fabric offer excellent detail and color reproduction.
Woven Patches:
This is great for small text and fine details. A woven patch has a smooth texture and crisp lines because the threads are tightly woven together.
Step 5: Work with a Professional Manufacturer
While you can make your own patches, working with a professional manufacturer ensures quality. Find a reputable manufacturer that makes custom biker patches. You can check their quality by looking at reviews, past work, and certifications.
What to Provide:
Please submit your design in a high-resolution format (JPEG, PNG, AI, etc.).
Be clear about your fabric, thread, and backing preferences.
Quantity: Decide how many patches you need. Bulk orders usually get discounts.
Step 6: Test and Finalize
Make sure everything looks and feels right before you go into mass production with a sample patch. Make sure these things are true:
Make sure your colors, shapes, and text are accurate.
Fabric and thread quality: Make sure the fabric and thread are durable.
Verify that the patch fits within the size constraints you set during design.
After you’re happy with the sample, you can start production.
Final thoughts
Adding a personal touch to your gear with custom biker patches is rewarding. Using this step-by-step guide, you’ll be able to create a patch that’s both stylish and meaningful. You can make a patch that stands the test of time with the right design, materials, and manufacturer.
Look no further than Aqua Digitizing for high-quality biker patches. Our team specializes in embroidery, printing, and Custom patches. Get in touch with us today!
Frequently Asked Questions (FAQs) About Custom Biker Patches
1. What materials are best for making custom biker patches?
The best materials for custom biker patches include durable twill or felt for fabric, vibrant, fade-resistant embroidery threads, and backing options like iron-on, Velcro, or sew-on for durability.
2. How much do custom biker patches cost?
The cost of custom biker patches varies depending on size, design complexity, and quantity. On average, a single patch can range from $3 to $10, with bulk orders typically offering discounts.
3. Can I create a custom patch with text?
Yes, custom biker patches can include text. However, it’s important to keep the text short, clear, and legible, especially for smaller patches.
4. How long does it take to receive my custom biker patches?
Production time usually ranges from 2 to 4 weeks, depending on design complexity and order quantity. Always request a sample patch before full production to ensure quality.
5. Can I create a custom biker patch for an event or special occasion?
Absolutely! Custom biker patches are perfect for commemorating events, rides, or anniversaries, and can be designed to symbolize the occasion for participants.


