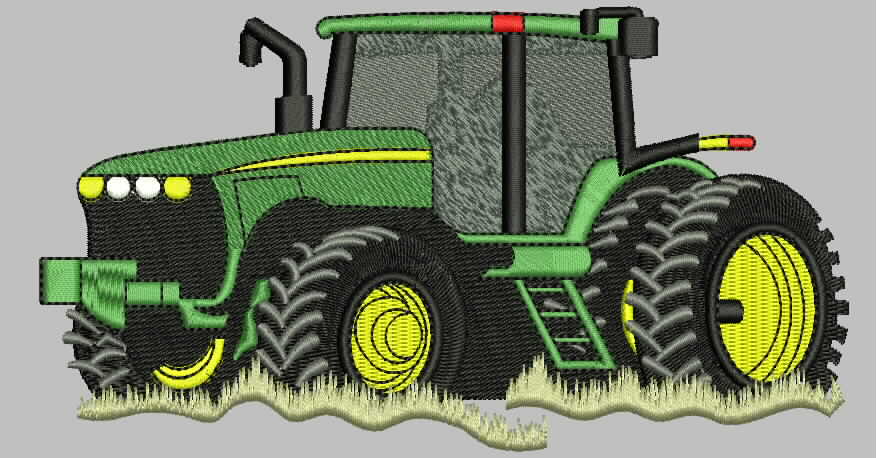
How to Create Embroidery Patches: A Comprehensive Step-by-Step Guide
Clothing, accessories, and promotional items can be personalized with embroidery patches. Aqua Digitizing has given me valuable insight into making top-quality embroidery patches. This step-by-step guide will show you how to create embroidery patches from scratch, whether you’re a hobbyist or a small business owner.
Embroidery Patches: What Are They?
Patches are decorative fabric pieces stitched with intricate thread designs. This type of patch enhances style and showcases brand identity or personal creativity on uniforms, jackets, hats, bags, and promotional materials.
Embroidery Patches: Benefits
Personalized service
For small batches, it’s cost-effective
Visibility boosts
It’s durable and long-lasting
The materials you’ll need to make embroidery patches
Gather these essentials before you start:
Stitch intricate designs accurately with an embroidery machine.
Colorful embroidery thread: Choose high-quality threads that come in different colors.
It’s best to use twill or felt fabric for backing.
Patches with adhesive backing are easy to apply.
Design and digitize your embroidery with embroidery software.
Cutting scissors: For precise fabric cutting.
Stabilizer: Prevents fabric distortion while embroidering.
How to make embroidery patches step-by-step
Step 1: Design Your Patch
Create Your Design: Personally, I prefer using graphic design software like Adobe Illustrator or CorelDRAW to craft unique patterns or logos.
Digitize the Design: Convert your design to embroidery machine formats such as DST or PES using specialized embroidery digitizing software. At Aqua Digitizing, we often use Wilcom for digitization.
Make the artwork easier to stitch by simplifying intricate details.
Step 2: Get the fabric ready
Make sure your fabric is a little bigger than your final patch size so you have room to add borders.
Attach stabilizer to the back of your fabric to keep it stable.
Step 3: Load the design onto your machine
You’ll need to transfer the digitized file to your embroidery machine.
Ensure that the machine settings are right, adjusting thread tension and stitch density.
Step 4: Embroider Your Design
Put the fabric in an embroidery hoop and secure it.
During the stitching process, monitor the embroidery machine closely to avoid errors.
Step 5: Add Adhesive Backing
Trim the fabric around the design to the shape you want.
For easy application, heat-seal or iron-on the adhesive backing.
Step 6: Finish the Edges
Use a satin stitch or overlock machine around the patch border to make it durable and clean.
When you’re done, check your embroidery patch for loose threads and imperfections, and adjust as needed.
Aqua Digitizing Tips from Personal Experience
Test your design on scrap fabric first.
Make sure the materials you use are high-quality.
You’ll get better results if you maintain your embroidery machine regularly.
When it comes to small patches, keep things simple but effective.
Embroidery patches: common uses
You can add embroidery patches to a lot of things, like:
Workwear and uniforms
Apparel (denim jackets, backpacks)
Merchandise for promotions and branding
Caps and hats
Uniforms for military and law enforcement
Frequently Asked Questions (FAQs)
How long does it take to create an embroidery patch?
On average, creating a simple embroidery patch can take anywhere from 30 minutes to 2 hours, depending on complexity.
Can embroidery patches be washed?
Yes, high-quality embroidery patches can typically be washed and remain durable when properly sewn or ironed on.
What fabric is best for embroidery patches?
Twill and felt fabrics are commonly used due to their strength, durability, and ease of embroidery.
Can I create embroidery patches without an embroidery machine?
Yes, it’s possible to hand embroider patches, but using an embroidery machine provides quicker, more consistent results.
Final thoughts
If you’re looking to customize personal items or enhance your business’s visibility, embroidery patches can be both rewarding and practical. It won’t take you long to create professional-grade patches with the right tools, techniques, and practice. We at Aqua Digitizing pride ourselves on delivering high-quality results, and this guide shares a lot of insights. Have fun embroidery!
 +1 929-207-0098


